Git is version control system.
- It allow continuous integration
- It allow automated deploy
- It lets you save your code online.
- It will allow all the developers of a project to see what changes the other one has made.
- It allows you to discuss issues in your code with other developers.
- It allow you to create branch to work on different releases.
- It allow you to create and track bugs reports.
Getting started
First, Signup on Github.
Download git for you OS from this page Git – Downloads
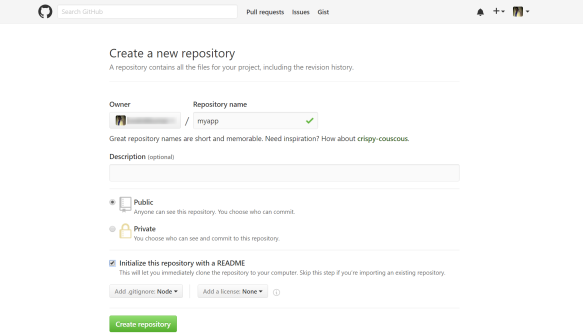
Create a repository as shown in the below image.
Now, you have created a repository and have installed git on your PC.
To link these two, follow the steps mentioned here Set Up Git · GitHub
Final Step
Clone the repository to your machine.
To do that, copy the web url of the repository.
Open the git command line and go to the path where you would like to keep this project.
Then, run the below commands.
$ git clone <add the repository address here>
( Clones/copies everything from that repository to your local machine )
$ git add filename.extension
(this adds the file you want to change on the server or use ‘.’ instead of filename.extension to add all files)
$ git commit -m “Commit Message”
(this commits your changes to the repository with an explanation message)
$ git push origin master
(this finally sends all your changes to the server. This is the final step of changing the code on your repository on the server)
